• Blog
  • Recipes
  • Supper Club
  • Parties
  • About
Menu

Fig + Berrie

Street Address
City, State, Zip
Phone Number
a gathering of recipes, party ideas, and pictures to inspire.

Your Custom Text Here

Fig + Berrie

  • Blog
  • Recipes
  • Supper Club
  • Parties
  • About

Building A Cheeseboard

December 29, 2017 Ally Wankier
IMG_7580.jpg

Around the holidays we are always making cheese boards at our house. They require almost no prep or cooking, and they are so yummy. I could just snack on a cheese board for dinner and be happy. Today I thought I'd give you all some tips on how I like to put together my cheeseboards. Last year I posted a picture of a cheeseboard I made on Instagram and it was by far my most liked photo of the whole year. So, I figured why not do a blog post dedicated to cheese. Is there a more perfect way to end the year than with a board of cheese? I don't think so.

IMG_7595.jpg
IMG_7575.jpg

So, to start there are a few general rules of thumb that will always keep you on the right track. 

First, the cheese. You want a good assortment of different types of cheese, but not too many options. I usually go for the rule of 3. One soft mild cheese, One hard cheese, and then a blue cheese or goat cheese. 

Soft Cheese Options: Brie or Camembert are what I almost always choose for my soft cheese.They are well liked and almost always a hit with everyone.

Hard Cheese Options: White Cheddar, Pecorino Ramono, or Parmesan. All are good, but I usually go with a sharp white cheddar because it's one of my favorite flavors ever.

Blue Cheese or Goat Cheese: For this last cheese, I usually just pick what looks good or exciting - for me, this third cheese is the time to try something new. If you want something classic you can always go for a good Roquefort or Stilton blue cheese.

IMG_7584.jpg

After I pick the cheese its time for the jams and jellies!! I always have at least 1 type of jam with a pot of honey, or maybe two jams if I feel like it. Almost always I like to have a sweet pepper jelly because those are my favorite to eat. Trader Joes has a great pepper jelly and you can find pretty decent ones at most grocery stores. Below I list a few of my other favorite options.

Basil Pesto (great for a summer cheese board with fruit and fresh mozzarella)

Fig Jam 

Orange marmalade 

Olive Spread or Tapenade 

Quince Paste or Jelly (really good with hard cheese and crusty bread)

Sour Cherry Jam (yummy with pungent soft cheeses, to give it a nice sweetness)

Really, the options are endless, just try to find something with different notes of flavor that will enhance the taste of your cheese.

IMG_7604.jpg

So now we have our main players. The real stars of the cheeseboard are there. It's time to add the extras that put it over the top. First, make sure you have a good cracker. I love just classic, crisp water crackers or crackers studded with nuts and dried fruit. I also like to slice up a baguette so there are plenty of options. Then I cut up some fresh fruit, thin slices of apple and/or pear are really good with the savory cheese. You can also do something like dried apricots or fresh citrus which are always very good. I'll sometimes add a little bowl of pickles or nuts and finally, just a bit of meat. Good salami or prosciutto is always perfect and adds just the right salty bite.  

Well, I think that's about it! Those are all my tips for a successful cheeseboard, I love that you can always mix it up and it will still taste good. So have fun and be creative! This is the perfect New Years show stopper.

In recipes, Parties Tags cheese, cheeseboard, side, holiday
Comment

Bridal Tea

August 9, 2017 Ally Wankier
ellanewmanphotography-5374.jpg
ellanewmanphotography-5381.jpg

I was able to throw a wonderful bridal tea, for a cute friend of mine and it was so fun to pull out all of the tea cups and vintage dishes I've collected over the years. I had wonderful ellanewmanphotography take these pretty pictures because she is just the very best! I thought I'd  post these pretty pictures on the blog and give you all a few tips and tricks for throwing a tea party as well as some of my favorite recipes.

ellanewmanphotography-5395.jpg
ellanewmanphotography-5383.jpg

The Menu 

For the menu I wanted to do something special. I wanted it to feel like a real tea straight from London, and so besides the fact that it was 90 degrees and we didn't have actual tea. I tried to get the food spot on! 

  • Cream scones with butter and jam and lemon curd
  • Curry chicken salad sandwiches 
  • Cucumber tea sandwiches 
  • Roast beef horseradish sandwiches with watercress 
  • Mini caprese kabobs
  • Chocolate "petite fours" 
  • Mini mille fuille with raspberries and lemon
ellanewmanphotography-5412.jpg
ellanewmanphotography-5405.jpg
ellanewmanphotography-5411.jpg

A few of my favorite recipes from the day were definitely the scones, the baby mille fuilles and the curry chicken sandwich!! 

For the Scones: This is a great recipe I got from a cute friend who is from England, these are the scones she grew up making with her dad. I've doubled the recipe because it makes a very small amount.

  • 2 cups flour 
  • 4 teaspoons baking powder 
  • 4 oz cold butter cut into cubes 
  • 2 large eggs
  • 3/4 cup milk 
  • pinch of salt 

In a stand mixer combine the flour, baking powder and salt add the butter and mix until it is like coarse sand, with pieces of butter still visible. In a separate bowl mix the eggs and milk together before adding them to the flour mixture. Mix until just combined, it should be a fairly wet dough. Try to handle as little as possible, turn it out onto a floured surface and pat out to about 1/2 inch thick you can cut them into triangles with a knife or use a round cutter like I did. Place them on a baking sheet and brush with milk. Bake at 425 degrees for 10 minutes or until they have risen and are just turning golden. 


For the chicken curry sandwich I used Ina Gartens recipe it is so delicious you can find it here. I then simply put the chicken salad onto a good white bread and cut into little soldiers. I got about four tea sandwiches out of one normal sandwich.

ellanewmanphotography-5390.jpg
ellanewmanphotography-5410.jpg

The Mille Feuille was super easy but looks very impressive and is so fun to serve to your friends. Here is what you will need:

  • store bought puff pastry 
  • store bought lemon curd 
  • raspberries
  • softly sweetened whipped cream 
  • powdered sugar 

To start thaw your pastry in the fridge overnight. Roll out one of the 2 pieces and cut into even squares, I tried to get about 12 so 3 across and 4 down but its alright if they aren't perfect. Place them on a baking sheet lined with parchment. Then put another piece of parchment on top and another sheet pan to keep them nice and flat. Bake in a 350 degree oven for about 15 minutes but watch them because they can go brown quickly without you even seeing. Do the same with the next piece of dough so that in total you will have 24 pieces for 12 mille feuille. Once the pastry is cool you can assemble. Spread lemon curd on the bottom 12 pieces along with a small amount of whipped cream and then top with 2 raspberries. Spread whipped cream on remaining 12 top pieces and then place them on top of the raspberry pieces. Place onto your tray and dust with powdered sugar. 

ellanewmanphotography-5412.jpg
ellanewmanphotography-5417.jpg

The Table

When I was planning the table I wanted to start with a neutral base and then just build off of that. I used liberty of london paper products which are always so darling and appropriate for a garden tea. Then I used vintage plates and goblets I have collected with my mom over the years from second hand shops. That was about it, I used mismatched tea plates and saucers to hold jam and butter and the table was ready for a party. 

ellanewmanphotography-5376.jpg
ellanewmanphotography-5420.jpg

This was such a fun party to host and a great excuse to use all my vintage wares. Happy Wedding Lillian!!

In Parties, recipes, savory Tags summer, garden, party, recipes, main dish
Comment

Spring Celebration

April 24, 2017 Ally Wankier

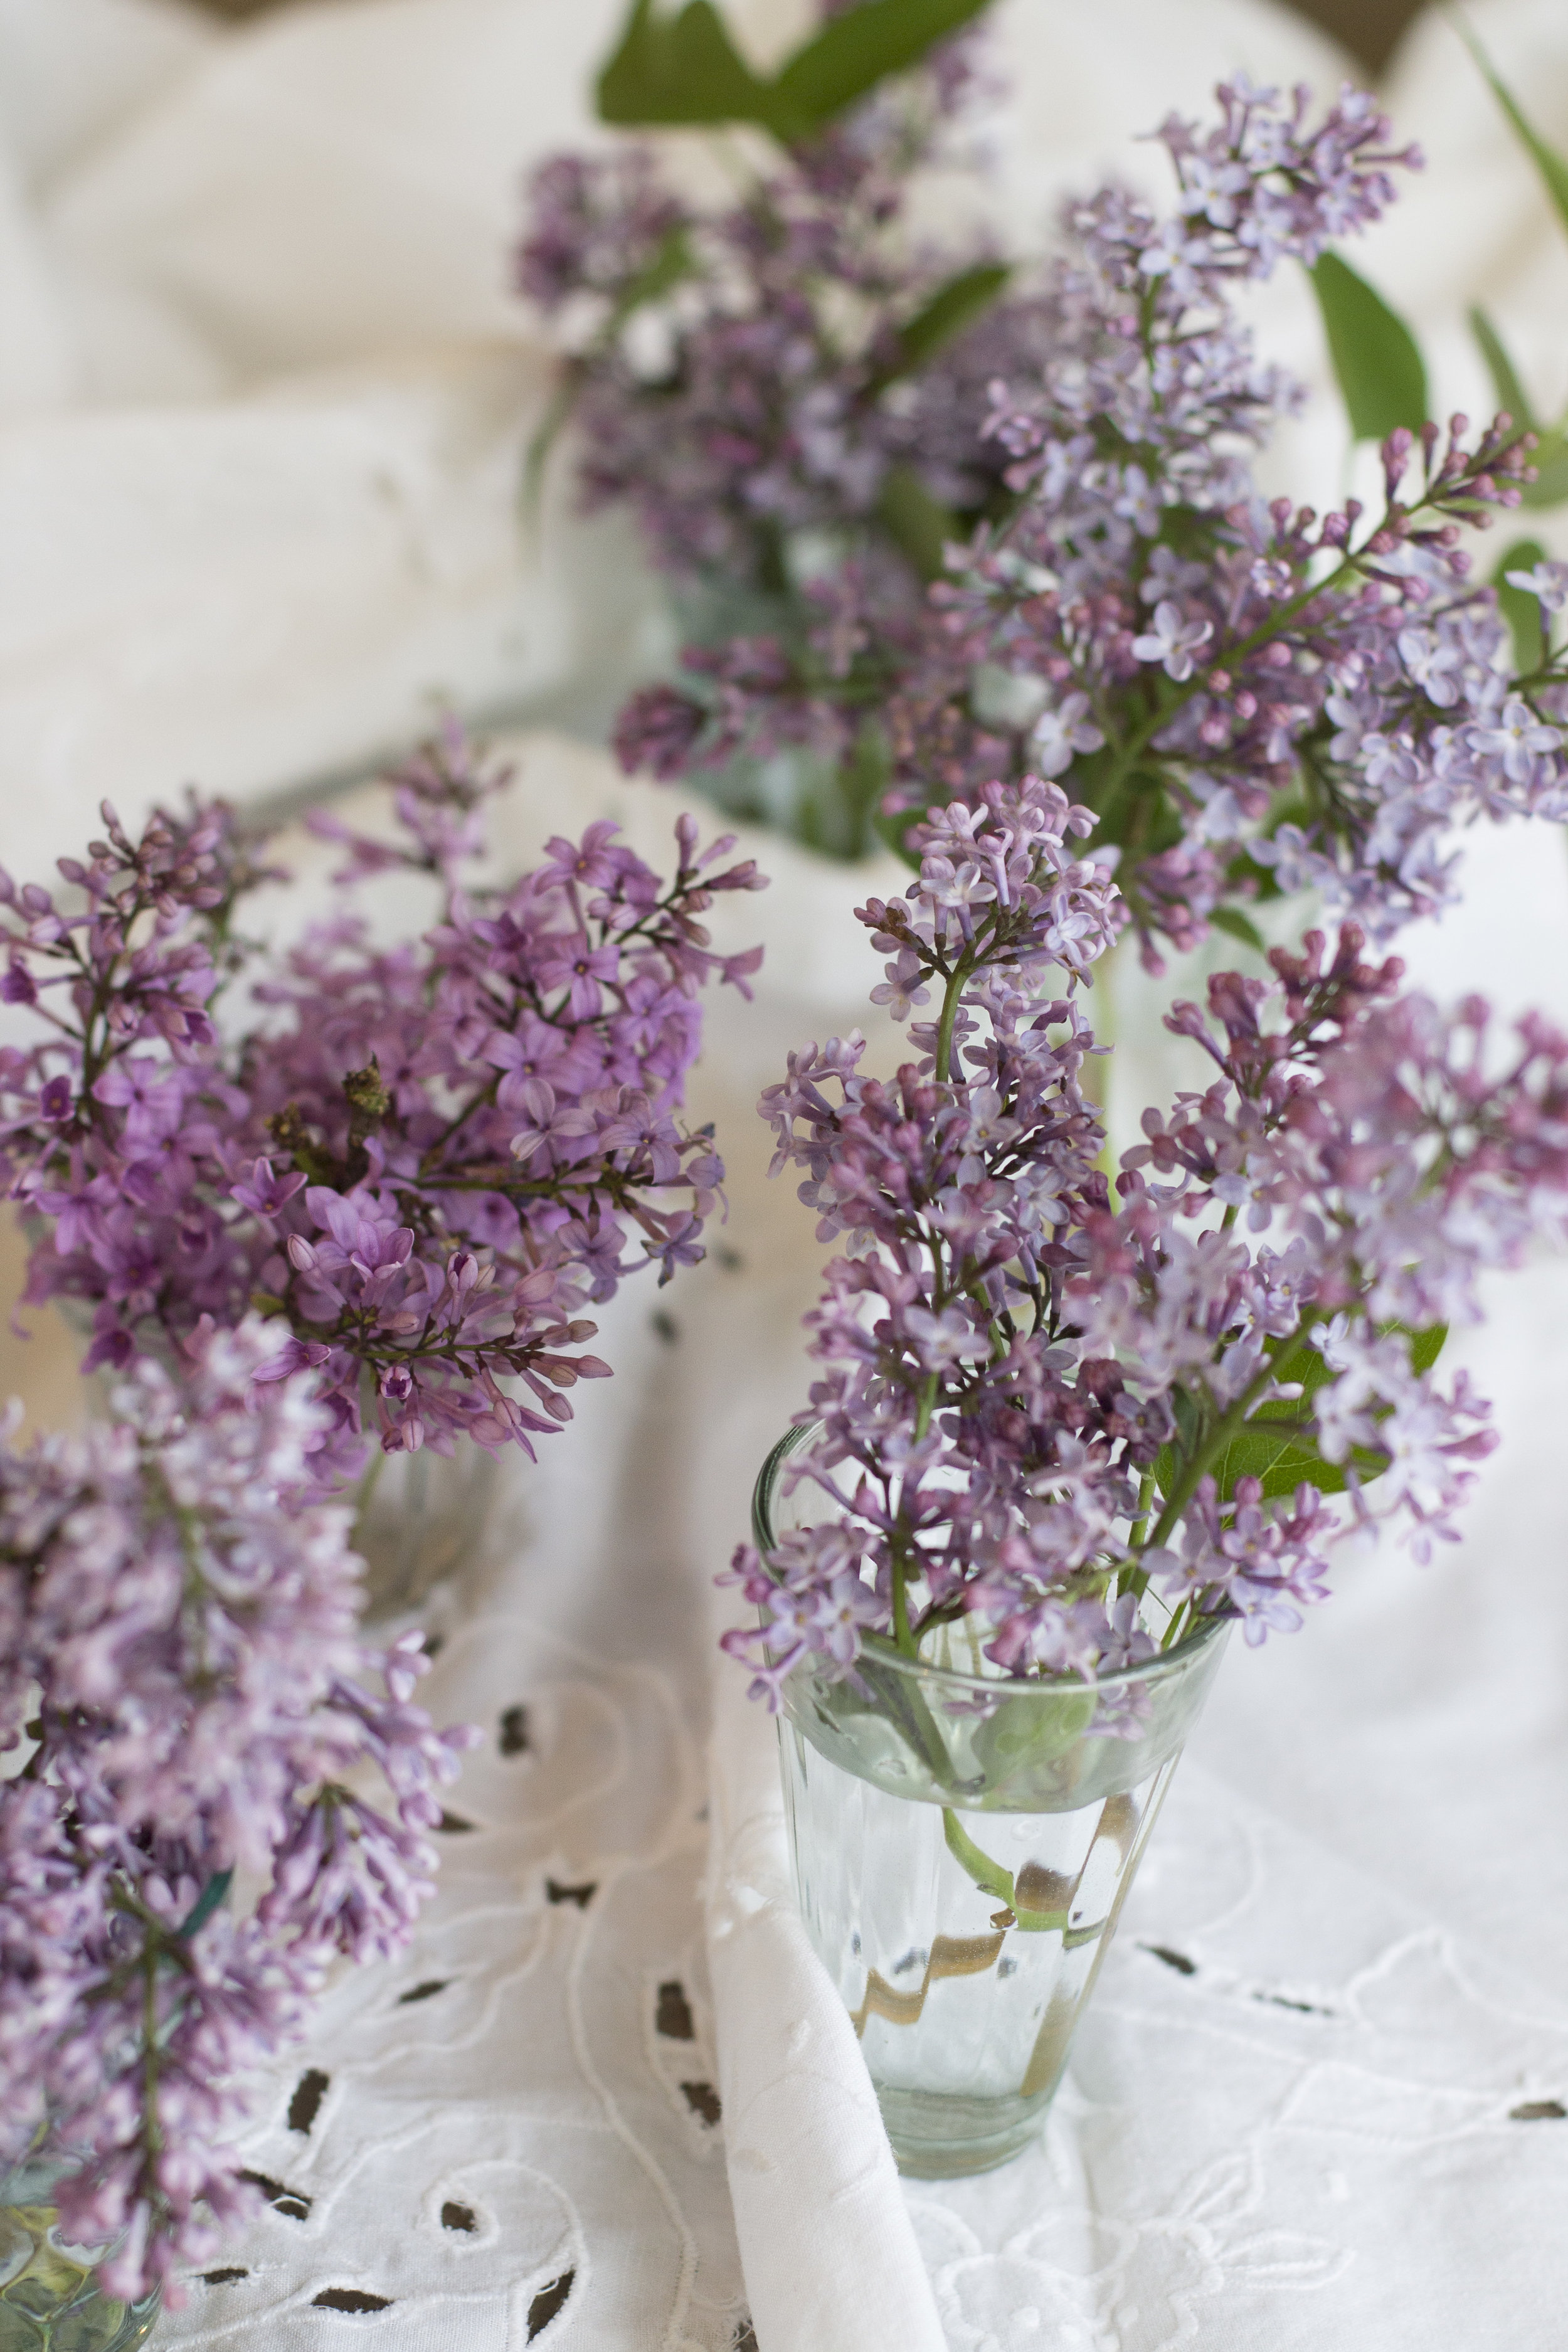
There is no better time in the year than spring. The earth comes alive after a long winter and the beauty of everything just seems amplified. I spent another lovely day with Ella Newman and her wonderful photography skills and once agin it was so much fun. I made some delicious new recipes and as usual she took some amazing pictures. I always am excited for any change of season because it means new produce, and different vegetables and fruits to work with. Spring has some of the best: asparagus, strawberries, rhubarb the list goes on and on. It gets me excited just thinking about it. So to celebrate the coming of spring I made roasted chicken thighs with a fresh basil and scallion sauce, the bright green color alone is enough to get excited about! I also made some orange rolls because whats better than a springy orange roll for Sunday dinner in the backyard. Ella brought some beautiful lilacs and they just made the whole table, nothing makes me think of spring like those wonderful smelling blossoms!! 

Ellanewmanphotography
ellanewmanphotography-4640.jpg

Roasted Chicken Thighs with Basil Scallion Sauce 

6 chicken thighs (with the bone in and skin on)

2 tablespoons olive oil

salt and pepper 

Sauce

1/2 cup chopped fresh basil 

4 scallions sliced thinly

1 clove garlic minced 

1 teaspoon sea salt 

1/3 cup olive oil 

ellanewmanphotography-4519.jpg
ellanewmanphotography-4531.jpg


To start preheat your oven to 375 degrees. Place your chicken thighs on a sheet tray and drizzle each with just a bit of olive oil (about 2 tablespoons). Sprinkle with salt and pepper and a bit of chopped basil and put in the oven to bake for 20-30 minutes depending on how big the thighs are. You'll know they're done when the juices run clear and the skin starts to get a bit of color on it. Meanwhile while they cook prepare the sauce. Chop up your basil and scallions and throw them in a bowl with the minced clove of garlic and a good amount of salt. Add the olive oil and stir, let it sit while the chicken is baking so the flavors had time to combine and marinate.

Finally, remove your chicken from the oven, let it rest for about 10 minutes so the juices can redistribute. Place it on a serving platter with extra basil and serve with the sauce spooned over top.

ellanewmanphotography-4510.jpg
ellanewmanphotography-4636.jpg
ellanewmanphotography-4522.jpg

Spring Orange Rolls

dough recipe adapted slightly from http://www.epicurious.com

1 envelop active dry yeast 

2 tablespoons sugar 

1 egg yolk slightly beaten 

1/3 cup fresh orange juice 

2 tablespoons melted butter 

1/2 teaspoon salt 

1 1/3 cup flour 

non-stick spray 

Filling

1 stick butter 

zest of 2 oranges 

1/2 cup sugar

Glaze

1/2 cup powdered sugar

1-2 tablespoons fresh squeezed orange juice 

ellanewmanphotography-4553.jpg
ellanewmanphotography-4587.jpg

To start place the yeast and 3 tablespoons warm water in a bowl with 1 tablespoon sugar. Stir to combine and let sit for 10 minutes or until foamy. In an electric mixer beat the egg yolk, orange juice, melted butter, salt and remaining tablespoon of sugar. Add your 1 3/4 cup flour and yeast and mix until dough just comes together. Turn your dough onto a floured surface and knead until smooth (about 5 minutes). Dough will be fairly sticky. spray a bowl with non-stick spray and place your dough in the bowl, cover with a towel and let rise in a warm place for about 45 minutes or until doubled in size.  While waiting mix your filling together cream the softened butter with the sugar and orange zest and set aside.

ellanewmanphotography-4599.jpg
ellanewmanphotography-4566.jpg

Once the dough is doubled in size spray a 9x13 pan or a muffin tin with non-stick spray. Turn your dough out onto a floured surface and shape into a 12x14" rectangle. Spread the filling across the dough leaving a small boarder around the edge. Roll the dough over itself starting with the edge of one of the 14" sides, until you have a long rolled log. Slice the roll into 12 pieces, the dough will be very soft so if you have trouble you can place it in the fridge for 20 minutes to make it easier to cut. place the rolls in their pan or muffin tin and let rise for another 30 minutes.

Lastly, preheat your oven to 350 degrees and bake for about 18 minutes or until lightly browned. Let them cool for about 10 minutes and make your glaze. Combine your powdered sugar and orange juice until smooth and creamy, then drizzle over the top of the rolls. Serve warm. 

ellanewmanphotography-4596.jpg
ellanewmanphotography-4571.jpg
ellanewmanphotography-4627.jpg

There you have it, a delicious spring meal you can whip up any time. Just add a green salad and dinner's ready! Happy spring!

In recipes, Parties, savory Tags party, spring, main dish, basil, chicken
Comment

Valentines Brunch

February 13, 2017 Ally Wankier
ellanewmanphotography-3791.jpg
ellanewmanphotography-3825.jpg

Well, Valentines is tomorrow but that doesn't mean you can't have a pretty little brunch any day of the year. I had the most fun day with Ella Newman - she takes the prettiest pictures, which you can see more of here. We got together for a quick Valentine's shoot and ate chocolate waffles and citrus salad, and chatted about life - and it really was the best time. I am so happy because now I have these beautiful pictures to post all thanks to her skills behind the camera. I've always loved Valentines day, I think it's such a bright happy holiday in the middle of bleak winter. I really can't think of anything better than celebrating it with pretty dishes and sweet treats. So go grab the people you love and make them some chocolate waffles, because who wouldn't want those?

For this little brunch I did a simple, super sweet menu. There were plenty of chocolate waffles, a yummy citrus salad, and some sparkling pink lemonade. If you wanted to add some real food in there, or add a little protein, a frittata or some scrambled eggs would be great! I used some pretty vintage pink glasses and these darling oval plates with gold rimming, both finds from a second hand store. Because, let's be honest, is it even a party without pretty dishes? 

Chocolate Waffles

- 1 stick butter

- 5 tablespoons cocoa

- 4 eggs

-1 1/2 cups sugar

-2 cups flour

-pinch of salt

-1 teaspoon vanilla

To start, melt your butter and mix in cocoa until combined. Next, whisk each egg into the chocolate mixture and then add the sugar. Finally, add the flour and salt until just combined, then add the vanilla. Heat your waffle iron to high and spray with non stick spray. Put a tablespoon (or up to 3) of batter in the iron,  depending on the size of your waffle maker. Cook depending on waffle maker directions and eat warm with soft whipped cream and chocolate sauce!  

ellanewmanphotography-3739.jpg
ellanewmanphotography-3749.jpg
ellanewmanphotography-3756.jpg

Ok, now we have the citrus salad. I think this was my favorite part of the day. You forget how good fresh citrus is and how pretty it is. I just can't get over those colors! This isn't even a recipe - all you need is some sea salt, citrus, and olive oil and you're good to go!

Citrus Salad

- 1-2 grapefruits, peeled and sliced

-1-2 oranges, peeled and sliced

-1-2 blood oranges, peeled and sliced

- sprinkle of Maldon sea salt

- 2-3 tablespoons of olive oil

Alright, so all you do is slice the citrus, drizzle the oil, sprinkle some sea salt and eat. Yum!

This was such a fun day - go look at Ella's beautiful website to see more photos of this pretty day, then make these recipes - you will not regret it!  Happy Valentines Day! 

ellanewmanphotography-3766.jpg
ellanewmanphotography-3787.jpg
ellanewmanphotography-3780.jpg
In recipes, Parties, breakfast Tags breakfast, waffle, recipes
Comment

Hosting Thanksgiving

November 24, 2015 Ally Wankier
IMG_3011.jpg

Thanksgiving is the ultimate celebration of not only family and gratitude, but food. It's the time of year where you get to pull out all your favorite recipes and make copious amounts of them to eat for days on end. I love cooking for people, I feel like it's a special way to show how much I love and appreciate those I care about - Thanksgiving embodies that feeling, with a day for food and family. Although Thanksgiving is wonderful, the idea of hosting it can be a daunting task, so I've compiled a few of my favorite recipes and easy tablescapes to make your festive feast go off without a hitch!! 

First off, let's talk about all those delicious sides!  There's stuffing, green bean casserole, winter salads, rolls and of course my favorite...mashed potatoes. For some reason, I don't usually make green bean casserole - I usually replace it with these delicious Brussels Sprouts because I think they're a great easy veggie side, but I won't be offended if you stick with your green beans!

So let me just take a minute to tell you about my favorite mashed potatoes. They aren't over done, they are simple and delicious with a hint of buttermilk, and they never disappoint. You can find the recipe here for Ina Gartens wonderful Buttermilk mashed potatoes. 

Next, I feel like the salad at Thanksgiving always gets over looked, but sometimes you want a bit a fresh lettuce in-between the decadence! So there are tons of great salads out there, but this beet salad with ricotta I made the other day is fun and different to add a little color to your Thanksgiving table.

Then, there are the rolls, I have to be honest - I get kind of intimidated to make my own rolls. I want to perfect the art of all yeast dough, but I'm not there quite yet. However, I saw this recipe a little while ago and knew I wanted to try it out.  How can Parker House rolls ever be bad, right? So if you want to take a leap of faith with me, try this recipe for salty, buttery rolls from Alex Guarnaschelli. 

Next, I really don't want to mess with your stuffing - or dressing, or whatever you prefer to call it! Everyone has their own stuffing recipe that they think is just right. Whether it uses cornbread, or sourdough, or good old white bread, I don't want to ruin your tradition.  I will be making my Grandma's stuffing like we do every year. It's a simple recipe with celery, onions and sage sautéed in lots of butter, then adding in dried bread cubes, tossing to coat, and seasoning with salt and pepper to taste.  The smell alone is enough to get in the holiday spirit!

Ok, now lets talk about the table. You want to make something beautiful for all your guests to enjoy, but not exhaust yourself in the process. Here's a simple tablescape I put together with all things edible, for a beautiful harvest table.

IMG_3126.jpg

I used a vintage bread bowl to set bunches of crisp granny smith apples in, and walnuts as place card holders. I decided to deviate from the typical harvest color scheme and repeat the green of the apples in the napkins for a fresh look. I used a simple linen throw from ikea as my table cloth because I didn't want anything to detract from the centerpiece. Simple green paper napkins pull the look together and make for easy cleanup. 

For the place cards I wrote on small plain tags from the craft store and leaned them against un-shelled walnuts. I attempted to write ON the walnuts shell, but that was not happening, so paper was definitely an easier alternative!  

IMG_3142.jpg
IMG_3246.jpg

For place settings I pulled out my moms wedding china, because after all, it is Thanksgiving. With that, the table is ready to go - all that's left is to get some turkey on those plates and Thanksgiving is upon us! Speaking of turkey, lets talk about that for a minute!  It's the crowning glory of the meal and always a bit intimidating. You never know if it will be dry or moist, flavorful or not. So heres a few tips that hopefully will make your turkey come out right every time.

1. BUTTER! Rub that whole turkey down with lots of butter and a good amount of salt, to get a pretty brown and flavorful skin.

2. BAG IT. I am a believer in turkey bags, it may not be the prettiest way but I think those bags help to keep all the juices in and give you a moist turkey almost every time.  The bag decreases cooking time, as well.

3. DON'T OVERCOOK! Take your turkey out of the oven a few minutes before it seems "done",and give it time to rest. Place a piece of foil over the top and let the turkey rest for a good 30 minutes or so. In this time it will continue cooking and be perfect when you're ready to cut into it!

Those are just a couple of my tips, but here is a list from food network that may help with those turkey cooking conundrums.

Ok, last but not least, you always need a special little bubbly to celebrate the season. So I whipped up a quick little "mock"tail just for the occasion. I can't exactly call this a recipe because it's just Ginger Ale and cranberry juice, but it's really pretty and you'll feel fancy drinking it! All it is, is 2 parts ginger ale to 1 part cranberry juice. You could also use white grape juice, which is delicious too.

Pour your mix into fancy glasses or have a whole bunch in a drink dispenser for everyone to help themselves. I like to garnish it with cranberries because they look so pretty bobbing in the effervescences.

I hope these tips can help you to throw a fabulous feast and that you'll get to spend more time with delicious food, and loved ones. Happy Thanksgiving!

In Parties Tags holiday
2 Comments

Hi, I'm Ally, author of Fig and Berrie. Thanks for visiting! 

Learn More
“People who love to eat are always the best people.”
— Julia Child

Follow on Instagram @figandberriekitchen

A bit of summer on this cold December day. I finally, about 6 months late, got this cake on the blog.🙈 So... merry Christmas, enjoy this sunny scene! ☀️🎄 .
.
.
.
.
. #figandberrie #cake #bonappetitmag #f52grams #christmasbaking #foodblog #foodblogf
Happy 4th of July!🇺🇸 here’s a pretty picture of a garden cake to celebrate! 📷: @ellanewmanphoto
.
.
.
.
.
.
. #foodandwine #food52 #bonappetit #foodblog #foodblogfeed #feedfeed #figandberriekitchen #figandberriesummer #fourthofjuly #summerfo
When my grandpa was a little boy his mom made these cookies for him. They have always been my grandpas favorite and my grandma has made them for him all through their marriage. My mom now makes them for my dad and our family, and we think they are pr
A delicious simple dinner/appetizer/snacking board is on the blog with an amazing green goddess dressing from the Tartine All Day cookbook! Link in profile✨
.
.
.
.
.
.
. #figandberriekitchen #foodblogger #foodblogfeed #eatmoremagic #f52grams #bonapp
I’m ready for spring! So a new recipe for a simple, healthy, springtime dinner is coming to the blog soon!
.
.
.
.
.
.
.
. #figandberriekitchen #foodblogger #food52 #f52herbs #foodblogfeed #bonappetit #feedfeed #foodphotography #foodie #foodand
Valentines is almost here💘 I’ve been looking back at this pretty shoot I did with @ellanewmanphoto and remembering these delicious 🍫waffles!! They are so easy and the perfect valentines treat. Link in profile✨❤️
.
.
.
.
.
.
. #figandberrie #f
I swear this is the last picture of raspberries! But these guys are officially up on the blog and the perfect Valentines treat.❤️💕❤️
.
.
.
.
.
. #food52 #foodblogger #buzzfeedfood #foodblog #feedfeed @thefeedfeed #foodblogfeed #bhgfood #countrylivin
It’s finally February! I thought we’d never make it. January felt like the longest month, so here’s a picture of berries to celebrate✨
.
.
.
.
.
.
. #food52 #foodblogger #foodphotography #foody #feedfeed #buzzfeedfood #marthastewart
One of my favorite memories is going to Bear Lake every summer and eating lots of chocolate covered raspberries! It was the best treat and something I never had anywhere else. So I decided to try and recreate them at home, and I can’t stop eati
This salad has been on repeat in our house since Christmas! It’s the perfect combination of flavors, and is now up on the blog! Link in profile✨🥑🍊
.
.
.
.
.
.#foodblogger #buzzfeedfood #food52 #foodie #foodphotography #foodandwine #feedfeed #

FEATURED RECIPES

Popovers
Popovers
Mint Slush
Mint Slush
Christmas Cake
Christmas Cake
Party Cheeseboard
Party Cheeseboard
You must select a collection to display.

Powered by Squarespace                            

Privacy Policy