• Blog
  • Recipes
  • Supper Club
  • Parties
  • About
Menu

Fig + Berrie

Street Address
City, State, Zip
Phone Number
a gathering of recipes, party ideas, and pictures to inspire.

Your Custom Text Here

Fig + Berrie

  • Blog
  • Recipes
  • Supper Club
  • Parties
  • About

Chocolate covered Raspberries

February 1, 2018 Ally Wankier
raspberryfinal.jpg

One of my favorite memories is the summer vacations my family would spend in Bear Lake (an amazing crystal blue lake that lays across the boarder of Utah and Idaho). We'd go with my whole extended family to our grandparents condo and spend the days playing in the lake and eating good food. One of the best things about Bear Lake was their amazing raspberries. We couldn't go without getting baskets of raspberries, famous raspberry shakes, and the best chocolate covered raspberries! In my mind a chocolate dipped raspberry is a thousand times better than a chocolate dipped strawberry. You can pop the whole thing in your mouth at once and its juicy and sweet - and you won't be able to stop eating them! So with these happy memories in mind and Valentines Day coming up, I thought this would be the perfect treat to celebrate the holiday, and its so easy. I don't even know if you can call this one a recipe, but all I know is that they're delicious!

raspberry2.jpg
raspberry5.jpg

Alright, so these are so easy to make and can be ready in no time at all. They are perfect for Valentines gifts for family, just pop a few in a cellophane bag with a pretty ribbon and you're done. 

What you need: 

  •  6 oz. chopped Chocolate (semi-sweet or milk).  Bear Lake always had milk, I did these with semi-sweet. I like them both ways!
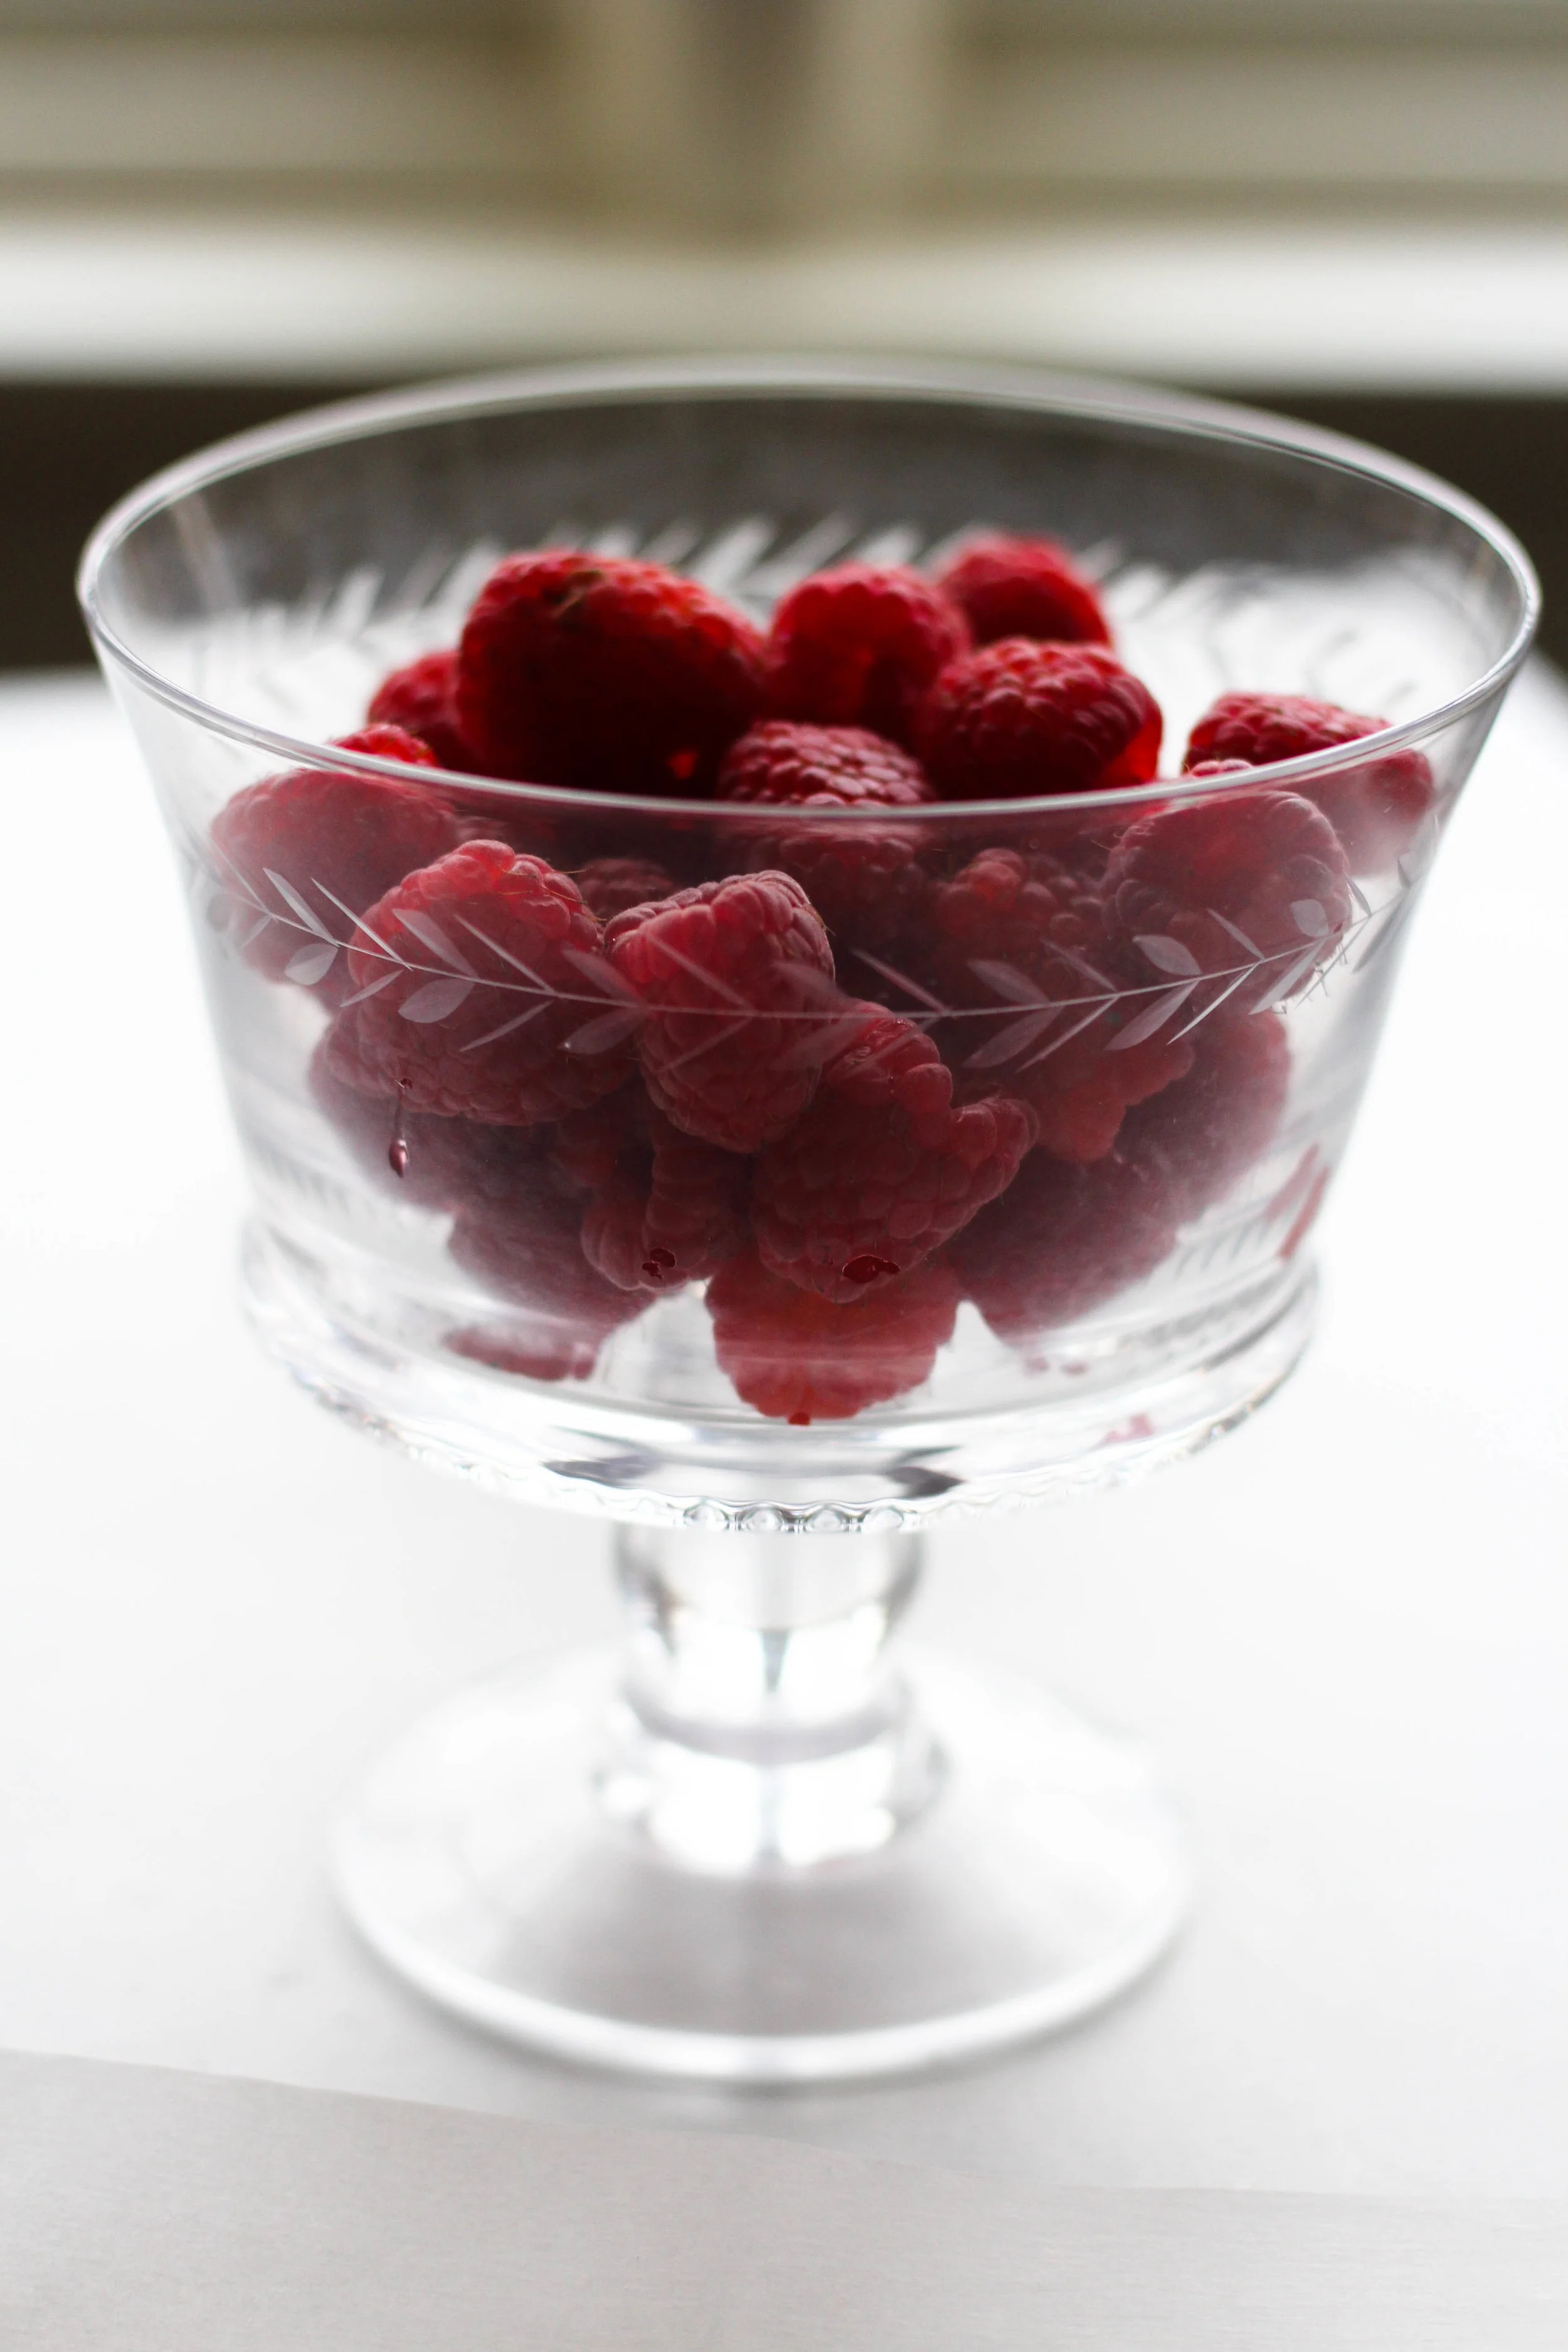
  •  1 pint Raspberries 
  • Optional: white chocolate for drizzling or sprinkles for decorating. I just like them plain and simple.
raspberry6.jpg

The rest is really easy. 

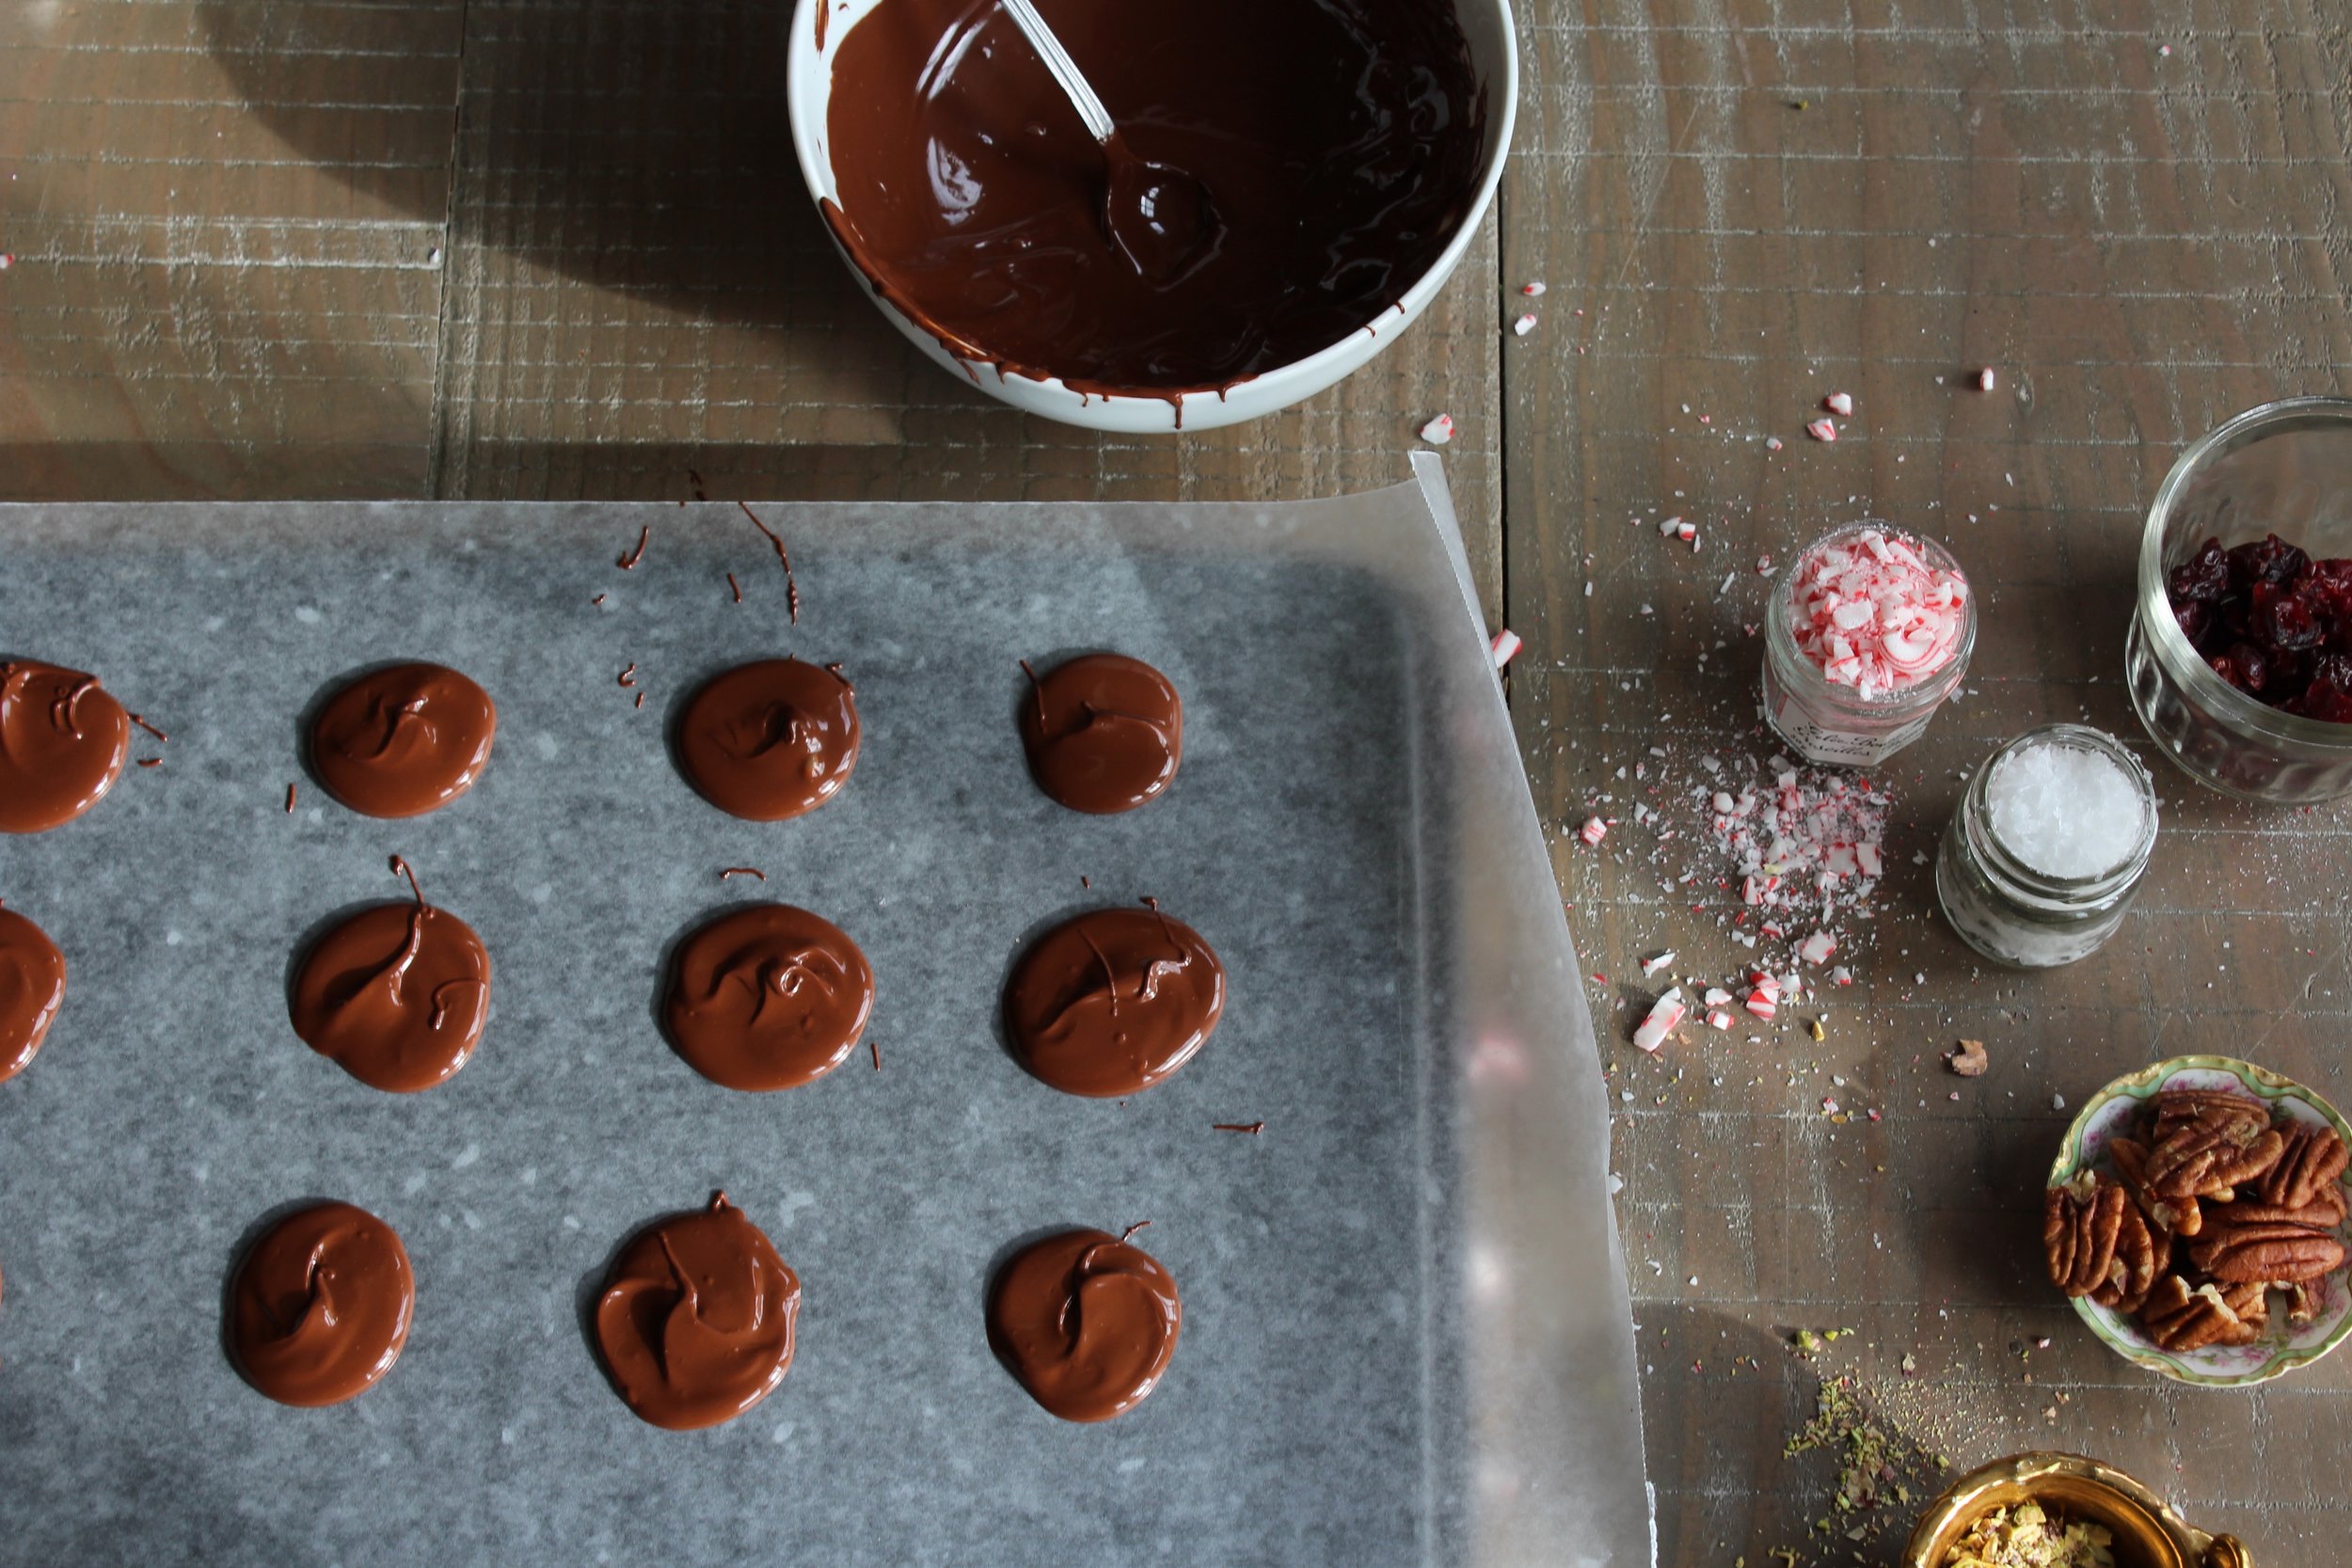
1. Melt your chocolate. Now this is probably the most technical part, since technically the chocolate needs to be tempered to maintain its pretty sheen. I use a really easy method that hasn't failed me yet. I learned this from Ina Garten, but lets be honest, that is where most all my food knowledge originates from! 

2. Here's what you do. Put 4 of the 6 oz. of chocolate in the microwave and cook it in 30 second intervals until almost melted. It usually just takes me 2 intervals, for a total of 60 seconds. Then, add the last 2 oz. of chopped chocolate into the already melted chocolate and stir till everything is completely melted and combined. This ensures that the chocolate doesn't get too hot and end up drying with that ugly dusty grey color. This microwave method hasn't let me down yet!

3. Now, the raspberries. Wash them and make sure they are completely dry. I like to sometimes get organic raspberries so I don't have to worry about washing them as much, because you want the raspberries nice and dry so the chocolate will stick.

4. Now, for the dipping. I dip with a fork so I can lift the raspberry up and the chocolate can drain off. Then I set them on parchment paper to dry and just keep dipping. They dry really fast and are ready to eat in no time! 

5. Storing. They will keep for a few hours just sitting out, or a couple days in the fridge....(but, I doubt they'll last that long!!)

raspberry3.jpg
raspberryfinal2.jpg
In sweets, recipes Tags holiday, chocolate, valentines, recipes, sweet
Comment

Chocolate Mendiants

December 15, 2016 Ally Wankier

I have wanted to make these little chocolate treats for years and just have never gotten around to it. So, finally this year when I saw them in Bon Appetite Magazine I decided I was going to do it. They were so simple and fast I wondered why I'd never made them before. These little traditional French treats are simply melted chocolate shaped into a small circle and topped with fruit, nuts, candied citrus and pretty much anything you can think of. I think of them as your own individual chocolate bark, each bite can be tailored to have exactly what you like on top. I had to do some with peppermint on top because I love the festive look and peppermint bark is always a holiday staple. But, I have to say the traditional fruit and nut combination is pretty perfect. The salty and sweet with the rich chocolate, it's the perfect bite for after a large holiday dinner. I also felt like I had to make these, because what perfect neighbor gifts! They are beyond simple to make and look super pretty/ fancy in a little paper bag tied up with festive string. I think there is nothing better than a homemade treat. So if you're in a pinch this holiday or need something delicious in a hurry these little guys are just for you!

IMG_7018.jpg
IMG_7050.jpg

Chocolate Mendiants

-makes 30-35 candies-

8 oz. good chocolate (I use ghiridelli 60% or 70% baking bars)

chopped pistachios

pecan halfs

dried cranberries

sunflower seeds

cashews

rasins

crushed candy canes, dried fruit, nuts, candied ginger, sea salt, anything you want!

Melt your chocolate in a double boiler or in the microwave in 30 second increments till almost melted. Then stir chocolate till smooth and the heat of the melted chocolate has melted all remaining chocolate pieces. Lay a sheet of wax paper across a cookie sheet. Spoon dollops of chocolate onto the wax paper and spread into a circle just larger than a quarter. Continue till you've filled the sheet and then sprinkle each with toppings of your choice. I recommend leaving the peppermint alone, it's best by itself. Mixing the nuts and fruits is really delicious! After they all have their topping pop them in the fridge to harden for at least an hour, but they can be kept for 4 days in the fridge before serving. Peel off the wax paper and enjoy with a warm drink! 

Happy Holidays!! 

XOXO

In sweets, recipes Tags recipes, holiday, chocolate, christmas, candy
Comment

New Years Chocolate Truffles

December 29, 2015 Ally Wankier

Christmas has come and gone, and we have all probably had our fill of cookies, cakes, and sweets. But, the new year is just around the corner and you have to celebrate that with something sweet! I thought truffles were perfect, they're easy to make and a yummy small bite that's not too filling, and they look really fancy! I adapted this recipe just a bit from the cookbook Tartine it's a great book full of yummy pastry and cake recipes, all from the bakery in San Francisco. I changed mine up a bit with different topping to roll them in, so they would look like shinning gems on the new years table! I used chopped pistachios, cocoa powder, and powdered sugar! These truffles are basically like making a thick ganache and then just waiting for them to set in the fridge, so hardly any work and they look so pretty. These would be perfect to have on New Years Eve with some friends and a little bubbly cider!

CHOCOLATE TRUFFLES

makes about 20 truffles

8 ounces semi or bitter sweet chocolate 

1/3 cup heavy cream 

1 teaspoon corn syrup

2 1/2 tablespoons butter 

1 teaspoon vanilla extract 

powdered sugar, cocoa powder, pistachios or whatever you like

IMG_3912.jpg
IMG_3942.jpg

To start, heat the heavy cream and corn syrup over medium heat until it is almost boiling. While the cream is heating up, chop your chocolate into pieces, I usually use two 4oz. bars. Put your chocolate in a bowl and pour the hot cream over it along with the softened butter. Stir this mixture until the heat of the cream has melted all the chocolate and butter and it is smooth. Lastly, add your vanilla, then you need to wait for the chocolate to come to room temperature and firm up a bit. I usually just set mine in the fridge covered with plastic wrap for about 1 hour. After that 1 hour take your bowl of chocolate out and scoop little balls out with a small ice cream scoop, melon baller or just a tablespoon. Place the balls on a sheet tray, it should make 20 to 30 depending on the size of your truffle. At this point the truffle will still be pretty soft so put them back in the fridge for a couple hours or in the freezer for about half an hour until they're nice and firm. 

Once they come out of the cold they will look like the picture above and be fairly easy to handle. Dump a cup or so of chopped pistachios, powdered sugar or cocoa powder into a wide bowl or plate and then roll the truffles in the coating. You can roll the chocolate in your hands right before rolling them through the coating so the surface is warm and will stick to your toppings better. After you're done you can place them in small cupcake liners or just on a plate, and stick them back in the fridge until you are ready to serve. The truffles will last a week or two if kept in the fridge. 

I hope you have a happy new year and that these little guys make it to your celebration table!

IMG_3951.jpg
IMG_3915.jpg
In sweets, recipes Tags chocolate, recipes, holiday
Comment

Chocolate Molten Cakes with Candy Cane Cream

December 4, 2015 Ally Wankier

It's the best time of the year, and with the first week of December here, I bring you candy canes and chocolate! To me, there is no better dessert than something chocolate, and these cakes are perfect for that craving. Rich chocolatey flavor with a molten, runny center, they just can't be beat. I found this recipe a few years ago and altered it just a bit, but I think it's the best molten cake I've ever had. The candy cane cream adds such a fun holiday element because the candy canes tint the cream a pretty pink and it tastes like peppermint! I love the combination of chocolate and peppermint and this is just the perfect amount - this cake would also be delicious with peppermint ice-cream. This is such an easy recipe, but looks really impressive when you serve them individually. They would be great to serve for Christmas dinner dessert!  

First, lets start with the candy cane cream. It can be made in 4 simple steps and then set aside while you quickly pull the cakes together, so it can be infused with candy cane flavor and pinkness.

IMG_3250.jpg
IMG_3263.jpg
IMG_3289.jpg
IMG_3293.jpg

Step 1: Whip 1 cup cream until soft peaks form.

Step 2: Stir in 3 tablespoons powdered sugar and a teaspoon vanilla.

Step 3: Crush 5-6 candy canes in a ziplock bag with a rolling pin.

Step4: fold about 3 tablespoons of candy cane crumbs into cream.

- Use extra candy cane pieces to sprinkle onto cake when you serve - 

Now, for the cakes. First, preheat your oven to 450 degrees, and butter and flour 4 ramekins.

Molten Chocolate Cakes

serves 4

1 stick butter 

6oz. bittersweet chocolate (I use Ghirardellis)

2 eggs 

2 egg yolks 

4 tablespoons sugar 

2 tablespoons flour 

To start, melt your chocolate and butter over a double boiler or in the microwave (in 20 second increments), until just melted. Set chocolate aside to cool. Beat eggs and egg yolks with sugar, until light yellow and foamy, about 2 minutes. Lastly, add cooled chocolate into egg mixture along with flour and stir until combined. Divide batter evenly between your 4 buttered ramekins and bake in a 450 degree oven for 8-10 minutes. You want the cake to still be slightly wobbly in the center, so pull them out even if you think they aren't quite done. Wait about 30 seconds and dump each cake onto a serving plate - they should come right out. Top with mounds of peppermint whipped cream and crushed candy canes, and serve immediately. You can have the batter done in advance and bake whenever you're ready to serve, so you have almost no work to do after dinner. I like to sprinkle my cakes with powdered sugar, as well as having the whipped cream, because it kinda looks like snow, which is all the more festive!

IMG_3401.jpg
IMG_3376.jpg


In sweets, recipes Tags dessert, holiday, chocolate, christmas
Comment

Chocolate Fudge Brownies

August 2, 2015 Ally Wankier

Everyone needs a good classic brownie recipe, one that is easy to make, with the perfect texture and plenty of chocolate. This is that brownie. These are great to make for parties, gifts or, if you're me, just because. When I was thinking about creating this recipe, I was thinking of my  favorite brownie recipes throughout the years. I realized that there are two categories in the brownie world: chocolate flavor from cocoa powder, or from actual melted chocolate. Well, my two favorite recipes differed on this important aspect, one being made with cocoa and the other with semi-sweet chocolate. I know this all sounds really dumb and boring...like get to the point! The point is, I decided to create a brownie with both chocolate aspects, making for an absolutely perfect, extra, extra chocolate brownie. The result is the definition of brownie heaven: perfect texture and undeniable chocolate taste in every bite.

Chocolate Fudge Brownie 

*serves about 8*

4 oz semi-sweet chocolate

1 stick unsalted butter 

1/4 cup Hershey's Special Dark cocoa powder or just normal cocoa 

1 cup sugar 

3 large eggs 

1 teaspoon vanilla 

1/2 teaspoon salt 

3/4 cup flour 

To start, chop up your semi-sweet chocolate. I usually use Ghirardelli's bars. Add it to a bowl with the butter. Place your bowl over a pot of simmering water, making sure the water isn't touching the bottom of your bowl, as it may burn the chocolate. Basically you're just creating your own version of a double boiler, so keep the water at a low simmer to slowly melt the chocolate and butter while you give it the occasional stir. Once the chocolate and butter are melted, take it off the heat and add your cocoa powder. I like to use Hershey's Special Dark cocoa powder for this recipe because it gives extra intensity and a dark color, but regular unsweetened  cocoa powder will work as well. After you mix your cocoa in, add the cup of sugar and mix well, next come the eggs. Set your bowl aside for about ten minutes so the mixture can cool slightly before adding your eggs or else you'll have scrambled egg brownies...not good. Add eggs one at a time and stir well until batter is nice and shiny, then add your vanilla. Lastly, add the flour,(mix the salt into the flour prior to adding so no one gets one big salty bite) and stir well so all the flour is combined.

Preheat the oven to 350 degrees and prepare an 8x8 pan. Keep in mind if the pan is metal the brownies will cook faster, while a glass pan will take a bit longer. Cover your pan with foil or parchment paper, (I usually prefer to use foil) and spray with cooking spray. Lastly, pour your brownie mixture in the pan and bake for 25-35 minutes. I find when it's a glass pan it's closer to around 40 minutes while metal pans are done around 30 minutes or less. Either way keep your eye on it and always under estimate because no one wants overcooked brownies! A toothpick should come out mostly clean, with maybe a few crumbs. When they come out of the oven try your best to let them cool, the texture seems to improve the longer they are able to sit - so these are great to make a day or two ahead. Although, they are still delightful straight out of the oven warm, and gooey with vanilla ice cream.

In recipes, sweets Tags chocolate, dessert
1 Comment

Hi, I'm Ally, author of Fig and Berrie. Thanks for visiting! 

Learn More
“People who love to eat are always the best people.”
— Julia Child

Follow on Instagram @figandberriekitchen

A bit of summer on this cold December day. I finally, about 6 months late, got this cake on the blog.🙈 So... merry Christmas, enjoy this sunny scene! ☀️🎄 .
.
.
.
.
. #figandberrie #cake #bonappetitmag #f52grams #christmasbaking #foodblog #foodblogf
Happy 4th of July!🇺🇸 here’s a pretty picture of a garden cake to celebrate! 📷: @ellanewmanphoto
.
.
.
.
.
.
. #foodandwine #food52 #bonappetit #foodblog #foodblogfeed #feedfeed #figandberriekitchen #figandberriesummer #fourthofjuly #summerfo
When my grandpa was a little boy his mom made these cookies for him. They have always been my grandpas favorite and my grandma has made them for him all through their marriage. My mom now makes them for my dad and our family, and we think they are pr
A delicious simple dinner/appetizer/snacking board is on the blog with an amazing green goddess dressing from the Tartine All Day cookbook! Link in profile✨
.
.
.
.
.
.
. #figandberriekitchen #foodblogger #foodblogfeed #eatmoremagic #f52grams #bonapp
I’m ready for spring! So a new recipe for a simple, healthy, springtime dinner is coming to the blog soon!
.
.
.
.
.
.
.
. #figandberriekitchen #foodblogger #food52 #f52herbs #foodblogfeed #bonappetit #feedfeed #foodphotography #foodie #foodand
Valentines is almost here💘 I’ve been looking back at this pretty shoot I did with @ellanewmanphoto and remembering these delicious 🍫waffles!! They are so easy and the perfect valentines treat. Link in profile✨❤️
.
.
.
.
.
.
. #figandberrie #f
I swear this is the last picture of raspberries! But these guys are officially up on the blog and the perfect Valentines treat.❤️💕❤️
.
.
.
.
.
. #food52 #foodblogger #buzzfeedfood #foodblog #feedfeed @thefeedfeed #foodblogfeed #bhgfood #countrylivin
It’s finally February! I thought we’d never make it. January felt like the longest month, so here’s a picture of berries to celebrate✨
.
.
.
.
.
.
. #food52 #foodblogger #foodphotography #foody #feedfeed #buzzfeedfood #marthastewart
One of my favorite memories is going to Bear Lake every summer and eating lots of chocolate covered raspberries! It was the best treat and something I never had anywhere else. So I decided to try and recreate them at home, and I can’t stop eati
This salad has been on repeat in our house since Christmas! It’s the perfect combination of flavors, and is now up on the blog! Link in profile✨🥑🍊
.
.
.
.
.
.#foodblogger #buzzfeedfood #food52 #foodie #foodphotography #foodandwine #feedfeed #

FEATURED RECIPES

Popovers
Popovers
Mint Slush
Mint Slush
Christmas Cake
Christmas Cake
Party Cheeseboard
Party Cheeseboard
You must select a collection to display.

Powered by Squarespace                            

Privacy Policy